Showing posts with label mixed-media. Show all posts

Thursday, 8 February 2018

Pretty Tag made from scraps for #onelittletag


Hello my friends!
Well, Wednesday is usually an Art Club day (Ajax Creative Arts), but the weather did not cooperate, and we had a snow day instead.  That doesn't mean that I  couldn't have a crafty day, though.  I will confess, I did not leave the house and wore comfy p.j.s all day!

For those of you that are new to my blog, at the very beginning of the year, I created several background sheets using spray inks and stencils.  I call them my "spray play" sheets and I created them to cut dowm into tags, or collage or use as backgrounds for an art journal page (which I am determined to do this year!)


I have cut out several tags from these pretty sheets already. (if you scroll through my blog you will see many of those tags) and I have been saving some of the scraps to use later to create  a different background


Some of the offcuts just looked so pretty to me that I didn't want to throw them away.  I had little bits from other papers I had used as well and I decided I would save them and create a tag with them.  I glued them down to some card and them trimmed all around.  I edged all around with gold ink.


I also did some die cutting today.  I find die cutting therapeutic for some reason.  I think I get a certain satisfaction when I run a paper through my die cutting machine and it comes out as a beautiful and intricate embellishment.  Sometimes I will die cut for hours and never actually create anything. True story, a Mimi fact, lol.  A snow day is a perfect day to bring out the Cuttlebug!


So this tag has a lot of die cut elements.  I created the flower using some lovely vellum.  Now, here is the day coincidence.  The new prompt for OLTC had not been posted yet this week and it turned out to be "music", to be interpreted any way we like.  So this tag, with its music notes, qualifies although I had no idea when I was making it! I think I will have some fun with this weeks prompt.  Stay tuned!

Thank you so much for stopping by to see what I have been up to.  For those of you that are crafty, I hope I have inspired you to use up some of those scraps instead of throwing them away, and  create something!

Kim xo

Sunday, 18 September 2016

"Inner Workings" A new Mixed Media painting


Hello !  Today I bring to you my latest creation, a mixed media painting I have titled
 "Inner Workings"
This painting will be heading to Art Square tomorrow, a downtown Toronto venue close to the AGO, along with several other paintings done by the talented artists in another group I belong to, Ajax Creative Arts.  It's difficult to see all the details and texture of this painting in a photo, so I have taken a few close-ups.  I really enjoyed creating this piece.  I had an idea what I wanted to do, but at the same time this painting was largely intuitive and very personal.  I knew what colour inks I wanted to use, I knew I wanted to use gears and I had a vision of the basic composition.  I knew I wanted a lot of texture.  I didn't know how it was going to come together and the words occurred to me after I had already started..  I like the idea that they are part of the painting, but not the focal point.  They will be discovered as someone examines the painting..  I am very happy how this painting turned out and for some reason, I feel a real connection to it.  I hope you enjoy the close ups and at the end I have shared a little of my process as well, if you are interested.


I was already into the painting when I thought that I should document the process for my blog.  I had already added a lot of texture with modelling paste, beads and crystals. and established my composition.  Once that was dry, I painted over everything with acrylic paint.  Then I decided I wanted to incorporate some words into the background and did some stenciling with some white pearl modelling paste.


I created the gears using aluminum tape and I die cut them to shape.  Once my background was complete, I tempoarily added them to the background to give me an idea how I wanted to position them


Then I removed them, sealed them and aged them before adhering them to my painting


Now I was ready for the acrylic ink.  I added the ink in layers and moved it around with some water.  You can never predict exactly what result you will get when it dries.  While there was definitely a method to  my madness as I laid down the colours,  the ink does such wonderful things as it dries into the textured background that you cannot know as you lay it down.  I was excited when I awoke the next day to see how it had turned out.  I loved it!  As I move around the ink with water, there is a spray that occurs, which I like but It can be a little bit busy. So for my final touches, I muted some of the spray and recreated some quiet space.  I hope you like the end result

Thank you so much for letting me share my work, my process and my thoughts with you today.

Monday, 8 August 2016

Tag# 8-3 "Joy" #onelittletag


Hello my friends!  Today I am posting another tag cut from one of my "spray and stencil" pages.  


I used embossing paste through stencils for my image and sentiment

 Then I foiled it, running it through my laminator.


I then mounted it to black card to finish it off.

Once again, I had a nice image in the foil waste.  I coated some card with Mod Podge and trimmed it down to tag size.


I placed the foil "waste"  with the reverse image onto the coated card and ran it through my laminator


i mounted my tag first to the same pink card as the background I used, and then to black card to finish it off

Thanks again for joining me,  I hope you enjoyed my latest tag.
Have an awesome and artful day!

Sunday, 7 August 2016

Tag # 8-2 "Not Everyone Who iWanderst" #onelittletag (Using my newly acquired foiling technique)


Hello my friends!
Today's tag was made using one of the backgrounds created during my play with sprays and stencils.  I used a stencil and embossing paste to create the i,age and then foiled it.  I added some Tim Holtz words,  outlined some of the image with  a fine marker edged the tag with gold ink and mounted to black card.


BONUS TAG!

I coated a sheet of cardstock with Mod Podge and trimmed it down to tag size.  I used the left over foil, which I had also used to foil another project and foiled it onto the coated card.  I pieced some scrap foil onto some areas not covered by the original left over foil.  I think it turned out pretty good!


Thanks so much for stopping by my blog today and letting me share my tag with you
If you are new to my blog and are interested in the foiling techniques, please visit my previous posts 

Have an awesome and artful day!


Saturday, 6 August 2016

Part 2 of More Foiling Awesomeness!


Hello my friends!  Welcome back for some more foiling fun.  If you saw yesterdays post, you may recall how excited I was to find some new ways of foiling.  I had not heard of the new Minc reactive paint and foil reactive spray.  I was delighted to discover that Heidi Swapp metallic embossing paste and screen ink were also foil reactive.  Especially since I had some of both.  But it got my mind turning and I wondered if other pastes and mediums would work, which happily they did!  If you didn't see yesterdays post, you may want to have a look at it because this is a continuation of that post.  I tried several different things and of coarse, I couldn't stop!  So here are the results of the other products I tried and my own reactive spray!  Everything I tried was successful, although some did give better results than others.


I have a lot of different products on hand that I use.  I realize that some of you that don't paint may not have most of these products, so I thought I would try godd ole Mod Podge as well, since that is something a lot of crafters use.
I ran the various gels and pastes through a Tim Holtz stencil and let them dry thoroughly before foiling.  I just use a regular laminator to do my foiling, I do not own a Minc.  I use a folded sheet of copy paper as my carrier .  


Starting from the top left:  Liquitex Pouring medium, Golden Regular Gel, Golden Soft Gel, Golden Coarse Molding Paste  (bottom left)  Golden Light Molding Paste, Golden Molding Paste, Tri-Art Gloss Gel Medium, Tri-Art Molding Paste


The foil clung to everything I tried!  I found that it adhered best to the gels, the pastes seemed to have a more distressed look, especially the coarse molding paste.  Depending on the end result you are looking for, this is also a very cool effect.


I also tested Liquitex Pouring Medium, Liquitex Gloss Medium/ Varnish (painted on with a brush) and Mod Podge..  All of these worked very well


Until I saw Kate Palmer;s video, I didn't even know that there was a foil reactive spray on the market.  I decided to try my own spray.  I used 1 part Pouring medium and just less than 1 part Air Brush medium which I shook together in a spray bottle.  This gave me a pretty fluid consistency.  This worked very well and gave an interesting effect.I think next time i may try using a little less air-brush medium to see what effect I will get with a little heavier texture.


I also dribbled some of the spray mixture onto the card and let it drip as well.


Then i decided to try something else.  I don't want to waste a bit of my foil so I decided to try and make use of some of the leftovers that had a good  image. I painted a coat of Liquitex Gloss Medium onto some card and used the reverse image in the left over foil to foil another tag


This also worked very well.  Mod Podge also works (I did try that as well)  But please note, any area that is coated with the medium, or mod podge if you choose to use that, that is exposed and not covered by foil WILL stick to your carrier sheet.  I use copy paper as my carrier sheet, but take special care if you are using a good Minc carrier.  You could also use paper, but either way, make sure it is entirely covered so that you don't ruin your project!

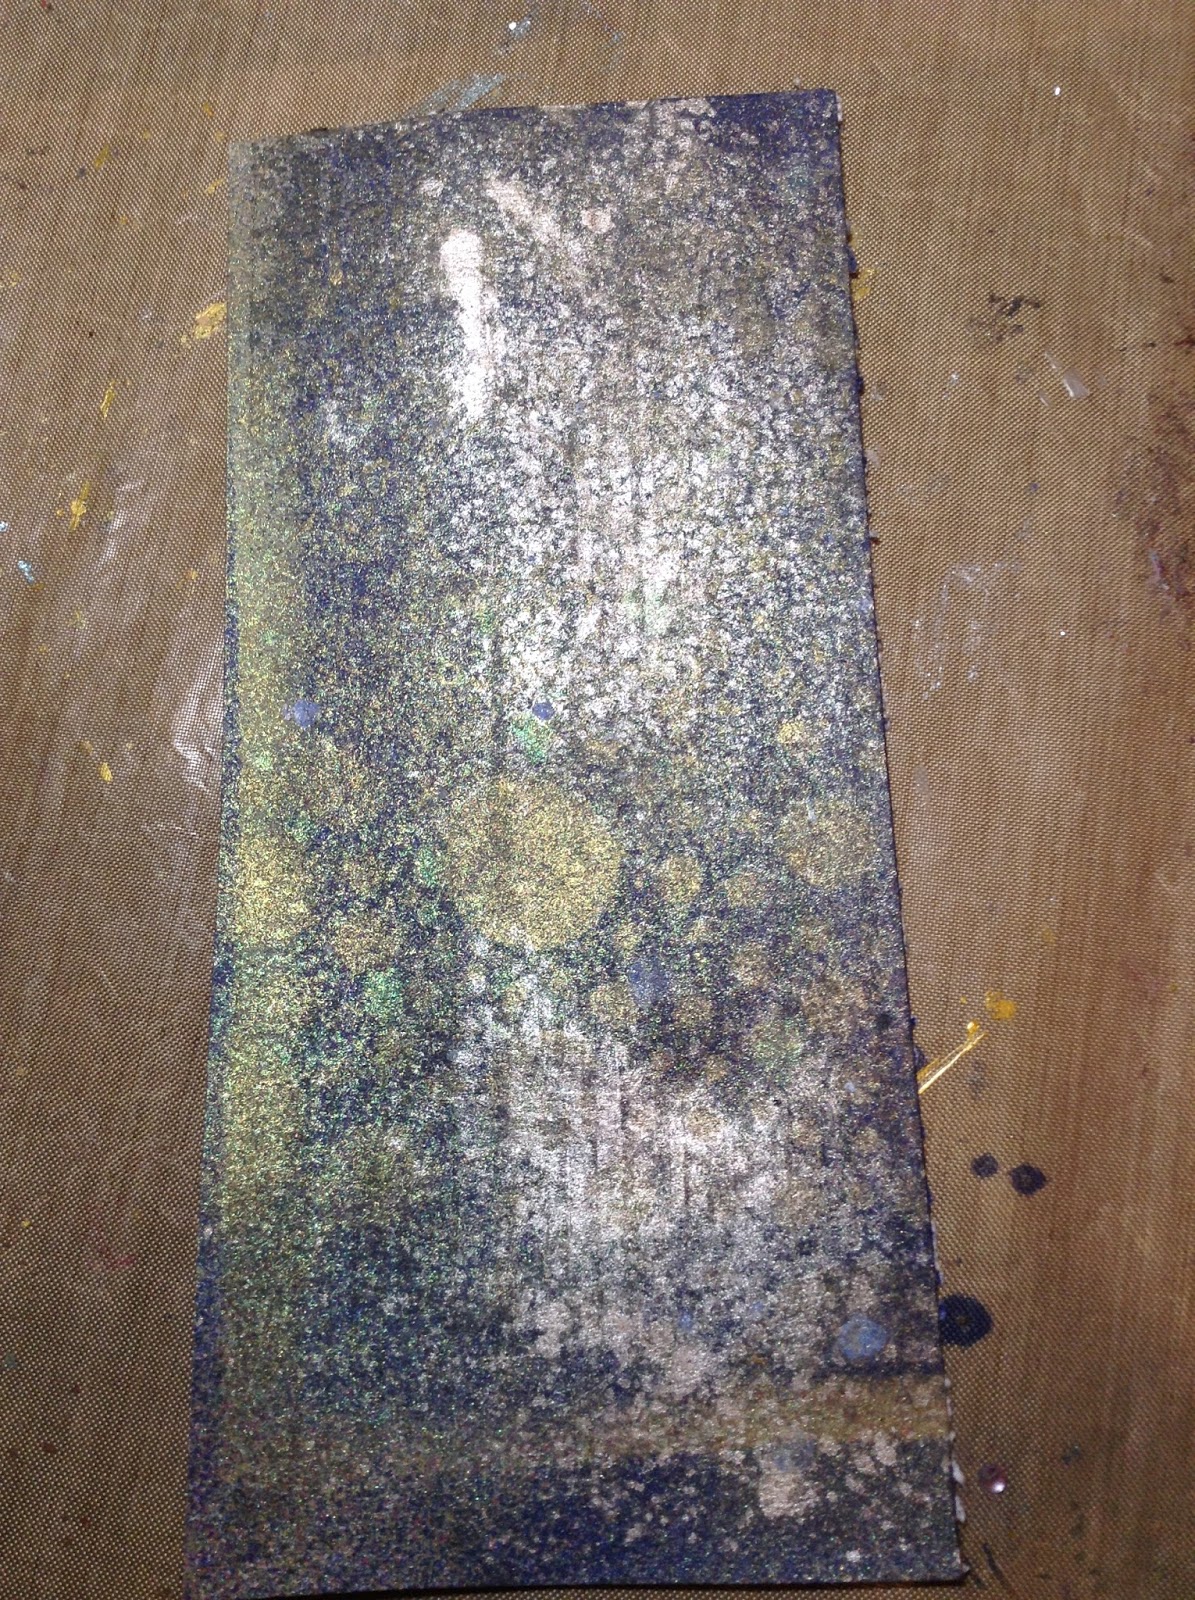
I am going to share an accidental bonus with you today.  I used  Faber-Castel Gloss Gel Medium through a stencil onto one of the tags I had made during my play with spray and stencils.  My intention was to do some foiling, but when it dried, an interesting thing had happened.  The darker spray from underneath, leached up into the medium and gave it a very interesting effect.  So I decided to leave it as it is.

Thanks so much for joining me once again.  I hope you found this information fun and useful and will give it a try.  . You don't need a lot of fancy equipment and products to do foiling, just a regular laminator and products that you may already have at home. I am already making good use of this new  knowledge, which you will see soon!  My mind is still whirling with ideas, so there may soon be a Part 3 to the Foiling Awesomeness.  I have some more experimenting to do. Thanks again for looking at my blog,  Please share if you know any foiling fans that would enjoy trying some of these options!
Have an awesome and artful day!

Be sure to check out some of my other foiling posts