Showing posts with label EK Success. Show all posts

Monday, 1 August 2016

Tag # 7-27 "Bonne fĂȘte" #onelittletag


Hello again, my friends!
Continuing with my personal challenge today, of using backgrounds and die cuts from my stash, here is another tag.

This background was one that I created within the last few weeks.  I painted the background with a baby wipe, collaged some bits of paper napkins and added gold embossing paste through a stencil.  The butterflies were ones that I created quite a while ago, probably over a year.  They were punched out of vellum, stamped and coloured on the back.


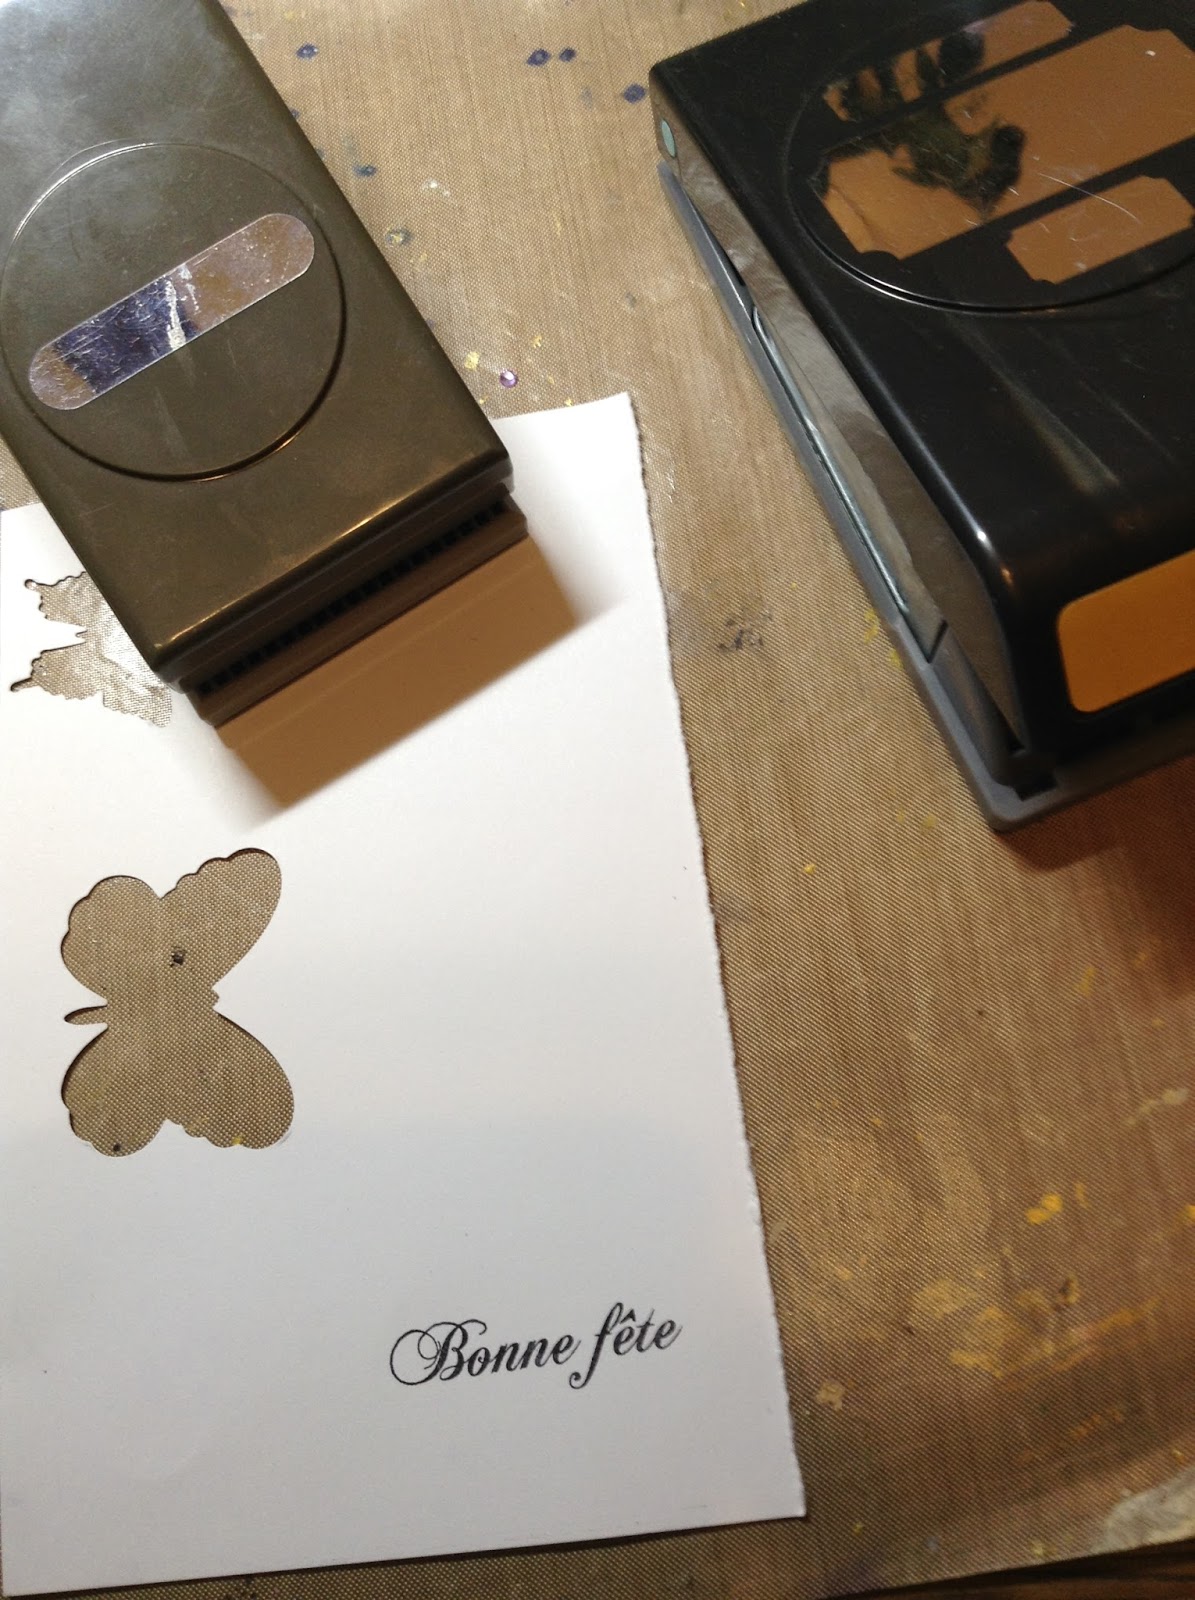
I stamped my sentiment on some scrap paper and punched it out


I assembled my tag, edged the tag in gold ink and mounted it to black card.


Thanks so much for looking, I hope you enjoyed this tag.  Stay tuned for another!


Update!  I have had a few people ask me about gold embossing paste, so I thought I would share a photo of the product.  It is a Viva Decor product called Modelling Cream.  It does have a creamier texture than some pastes.  I purchased it from Amazon.ca.  A special note, I have heard that t cold temperatures can damage this product, so it may be wise to consider that if you are ordering online.  I did make sure to order mine before winter here in Canada last year.  It's a good thing I ordered it when I did because it did take some time to get here

Sunday, 1 May 2016

Tag 4-30 "All You Need..." Punch Tutorial #onelittletag


Hi, welcome to my blog!  The latest challenge on the FB tag challenge I have neem doing (One Little Tag Craft Challenge) is punches.  I love punches because they are quick and easy, but I have never tried punch art.  So I searched around a bit and got some ideas.  This one was insprired by Dawn at Dawnsstampingthoughts.net. I put my own spin on it and used the punches that I had and I LOVE how this little guy turned out!
All the paper I used is from one pad that I had out from doing my owl tag.  (It's an oldie, but I really like this paper)


Her are all the pieces and punches I used


There are a few pieces I did some that I cut a bit as well.  Two of the smallest ovals that I used for the back paws I put back to back and trimmed the ends as indicated. then drew in an indication of paws.  I put them back to back to make sure I had a right and a left.  I folded one of the smallest ovals in half and cut it as indivated for the front paws, and drew in a few lines to indicate the paws.


Keep the little piece that is trimmed off the bottom as a tail!
Next, I inked the edges of all the pieces and drew in the whiskers and a little smile.  You don't have to ink the edges, but if you do take the time to do it, I think it makes a big difference in you finished piece.


I added a few highlights on his eyes and nose with a white gel pen.
I dug out some of my Graphic 45 stamps (It's Raining Cats and Dogs) and picked out a few sentiments.


I decided he need a little grass to stand on , and got out another Fiskers punch


I punched out my sentiments, chose one, inked the edges and assembled my tag.  I used a Stabillo All pencil to shadow my images.


I'm really happy how my first attempt at punch art turned out, he's so cute!  I Hope you enjoyed my little tutorial and will give it a try.
Thanks for loining me today, have an awesome day! 


Here is a link to the video that inspired me