Showing posts with label stamp positioner. Show all posts

Wednesday, 2 November 2016

"Noel" A new Christmas card, a Shaker card


Hello All!  Today's card is a shaker card, which is something I am fairly new at.  I have only made one before.  I started off with my distress ink blended background.  I splattered the water reactive ink with a water/ perfect pearls mixture.

I stamped my image with a Tim Holtz set from a couple of years ago, using Versafine Black Onyx ink in my home-made stamp positioner so that I could repeat stamp a few times to get a good, solid and dark impression.


I used my new Tim Holtz die again, along with an Elizabeth Crafts die and a Tim Holtz punch.  I knew this die would be versatile!  I die cut the globe from fun foam as well which I sandwiched between the layers to give dimension and create the space for my shaker elements.  I used some mylar to cover the front of my shaker element and under the top two layers.

Once my card was assembled, I embellished it with the globe "stand", the Noel sentiment, a few pine boughs punched out of gold card and a purchased snowflake embellishment (from Michaels)

Thank you so much for visiting my blog and checking out my latest Christmas card.  I hope you enjoyed it!
Have an amazing day everyone!

Tuesday, 1 November 2016

My latest Christmas card using a Tim Holtz die


Hello my friends!  Thank you for visiting and having a look at my latest Christmas card. 
I created this card using my new Tim Holtz die.  I have a feeling that this is going to be one of my favourite and most versatile die sets in my collection.


I also used an Inkadinkadoo stamp set.

I used distress ink to blend a background.  I punched a circle out of some low-tac shelf liner to make a mask for the moon.   I just love how water reactive distress ink is, and I  splattered some water with some perfect pearls in it to give a snowy shimmery effect.  I edged the houses and the inside of the globe  I used my Wink of Stella clear to add some shimer to the moon and the roofs.


I had some gold trim with an adhesive back (that I got from Michaels) that I used to embellish the globe.

This was a fun card to make because I like to create little scenes.  It took a bit of time to assemble all the pieces, so it wouldn't be ideal to make multiple cards, but very nice for that special card.

Thanks again, so much for taking the time to visit my blog and I hope you enjoyed my latest card and that perhaps it has inspired you to create your own card.

Have an awesome day!

Tuesday, 23 August 2016

Tag# 8-23 "The Sky's the Limit" #onelittletag


Hello!  Thanks for stopping by.  I am still in a tag making mood, so today I have another tag to share.
I used a distress ink background.  I cut out a cloud shape from some copy paper and used it as a mask to create my sky background.


I used a Deep Red stamp for the "flying machine", an Andy Skinner stamp for the birds and a stamp that I got at Michaels that came with a stencil, I believe it is Recollections.
Before creating the clouds, I first lightly stamped the image in distress ink so I could see where it would be.  Before re-stamping the image in black, I used some metallic markers to olour in some of the gears, some other areas  and the propeller .   Then I over stamped with black versafine ink.  I used my stamp positioner to do this.  I stamped the birds and the sentiment.  I also stamped another image.  I coloured in the bottom  boat looking section of the the machine with distress ink, and the propeller with the silver marker.  I cut both of these out and adhered them to the image to give it some dimension.  Unfortunately, it's difficult to see the dimension in the photo. 


Thank you for taking the time to have a look at my tag!
Have an awesome and artful day!


Monday, 22 August 2016

Tag# 8-22 "Delightful" #onelittletag


Hello again my friends.  This is the other tag that I made tonight Another fairly simple tag with a distress ink background.  I stamped the background with a Hero Arts stamp (one of my favourites!) wising bronze ink.  I stamped my focal image, another Hero Arts stamp, using my stamp positioner.  I used black versafine ink and Blueprint sketch distress ink.  I stamped my Fiskars sentiment with the black ink, added an embellishment from my stash and mounted to a black card to finish it off.


Thanks again for having a look at my tag.
Just a couple of short posts today, but I hope you enjoyed them.
Have an awesome and artful day!

Tag 8-21 "Angel" #onelittletag


Hello my friends!  I was in a tag making mood tonight, and made a couple of tags.  They are fairly simple, using some stamps for the first time and some embellishments from my stash.  I used distress ink for this background and a Tim Holtz stencil.  I was happy to use the Carabelle Studio stamp for the first time.  I used a stamp positioner that I made to first stamp with black versafine ink and go over it in certain areas with my gold ink.  To finish it off, I punched the corners with a Fiskars punch, added some embellishing pearls and mounted it to black card.


Thanks so much for stopping by and letting me share my latest creations with you.
Have an awesome and artful day!


Monday, 15 August 2016

"Love" Tag# 8-12 #onelittletag


Hello my friends!
Another tag for the "gratitude" prompt.  What could be more precious than the love of family?  I do not have a large family, but I cherish every member and love and miss those that are far away.  I am so grateful for the love of my family.
Thanks so much for joining me again and letting me share my latest tag with you.
Have an awesome and artful day!

"A Friend" Tag# 8-14 #onelittletag


Hello my friends!
Today's post s a tag for The One Little Tag Craft Challenge.  It is pretty simple with a strong sentiment.   The heart is a Tim  Holtz die, one of my faves, and  a stamp (Kaisercraft) that I have wanted to use for some time and this seemed like an idel time to use it.  The prompt this week is "gratitude".  I had resolved not to get hung up on the prompts, but  this is a challenge that  deserves a few tags. 
I am so very fortunate to have the best friends in the entire world and I am so grateful for the wonderful people in my life.  So this tag is in honour of my amazing  friends, who are always there for me on so many levels, and who I cherish very much.   My hope is that my tag will inspire you to just take a second to appreciate your good friends, who it's sometimes easy to take for granted.
Thanks so much for stopping by, have an awesome and artful day!

Sunday, 19 June 2016

"Happy Father's Day" Tag 6-19 #onelittletag


Welcome my friends!
Today's tag is for my Father for Father's Day.
I cannot express with words how much I love and appreciate him.  One day a year is certainly not enough to show the gratitude I have for what he does EVERY day for my daughter and myself.  
We are blessed to have a very special "Papa".
Love you Dad!


Of course I had to add a bit of foiling! I stamped the foiled areas with some toner paint I have been working on making and will share with you when  I get it figured out.

Happy Father's Day to all the good father's out there, that love and cherish their children!

Friday, 17 June 2016

Tag 5-23 "You Make Me Laugh" #onelittletag


Welcome to my blog!
This tag is a "catch-up tag" from the One Little Tag Craft Challenge.  The challenge that week was to use Gelli prints.  This is a background that I created by collaging some of the deli paper I had Gelli printed.  I added marks and splatters with distress paint.  I added some embellishments that I have had in my stash forever, a sentiment from a Fiskars stamp set and did some outlining with a micropen and a Posca paint pen.
I hope you find it cheery, and thank you for stopping by!

Thursday, 16 June 2016

Tag 6-8 "Hello Sunshine| #onelittletag


Hello my friends!  Welcome to my blog.
My tag today is based on the challenge to "step out of my comfort zone".  I have always loved the "mixed media girls" and have wanted to try creating some of my own.  But, as I mentioned n my last post, because of my vision limitations. drawing and colouring are difficult.  So, outside of one other attempt quite a while ago, I haven't tried my hand at it.  I thought this would be a good opportunity.
I drew a face, labouring with my magnifier and armed with an eraser.  II liked the face I created (although my daughter informed my that I need to fix the eyebrows.  But I am sharing, warts and all!)
I made some copies so I could use it again.  I coloured her face using Spectrum Noir markers and a white gel pen.  After  I finished colouring her, somehow I ended up with a mark on her cheek.  I attempted to lift it out, and did lighten it.  So we won't call it a wart, we will call it a beauty mark!


I used a napkin background, did some paint splattering and cut around some of the images (also out of my comfort zone!).  I ended up mounting another napkin to some card in order to cut out one of the images to put behind her.


I figured out how I wanted to position her and cut around one of the flowers to put her behind it and to give my tag more dimension.
I stamped my sentiment (which I had received as a free gift with a Quick Cards magazine) with Versmaark ink and heat embossed it with black embossing powder on vellum


Finally, I mounted the tag onto a black background.

I hope you like my mixed media girl and I think I will be doing more of them!  Thanks for stopping by!


Wednesday, 15 June 2016

Tag 6-7 "Recipe for Happiness" #onelittletag


Hello my friends!
Just to let you know before you get too far, the text in this blog post is the same as my last post with a few minor changes, because I did these tags together and the info is mostly the same. But I wanted to leave it all in case there are some new friends that haven't seen the last post.
  A few different photos, of course!
The challenge for the next few tags was to "step out of your comfort zone".  Some of you may already know this, but for those who don't, I am legally blind.  I obviously do have some vision, but my impairment makes some things difficult.  I love art and do lots of art, but I have adapted my art to limitations, and avoid the things that are a little more ...difficult.  So these tags may not be a stretch for many people, but they are for me.  But that's a good thing!  I just ended up more out of my comfort zone than I expected.
I got a new MFT stamp set called "Recipe for Happiness". I actually got the dies first and had to wait quite a while for the stamps. I thought the set was really cute and was anxious to finally use it.


 I stamped and die-cut a bunch of the little guys out and had some fun colouring them in.

 The colouring is what's out of my comfort zone. I have to hold a magnifier and get really close to colour, I'm sure I look pretty comical! After I coloured about 10 (okay, 11) of them I realized that I wanted much bigger Chefs to make my tags. So now I am out of my comfort zone again, for the same reason, and free-hand drew these Chefs based on my new stamp images. To finish the little guys I had to step out of my comfort zone AGAIN and cut them out with scissors, which is really hard for me because I cant cut and hold my magnifier at the same time!


The old fashioned stove is from a Local King Rubber Stamps set. I used Spectrum Noir markers to do my colouring and I used distress ink for the background with a Tim Holtz stencil and some distress paint splatters.


 All things considered, I am really happy with how they turned out!


Thanks for stopping by!

Tag 6-6 "Thanks for being there" #onelittletag


Hello my friends!
The challenge for the next few tags was to "step out of your comfort zone".  Some of you may already know this, but for those who don't, I am legally blind.  I obviously do have some vision, but my impairment makes some things difficult.  I love art and do lots of art, but I have adapted my art to limitations, and avoid the things that are a little more ...difficult.  So these tags may not be a stretch for many people, but they are for me.  But that's a good thing!  I just ended up more out of my comfort zone than I expected.
I got a new MFT stamp set called "Recipe for Happiness". I actually got the dies first and had to wait quite a while for the stamps. I thought the set was really cute and was anxious to finally use it.


 I stamped and die-cut a bunch of the little guys out and had some fun colouring them in.

 The colouring is what's out of my comfort zone. I have to hold a magnifier and get really close to colour, I'm sure I look pretty comical! After I coloured about 10 (okay, 11) of them I realized that I wanted much bigger Chefs to make my tags. So now I am out of my comfort zone again, for the same reason, and free-hand drew these Chefs based on my new stamp images. To finish the little guys I had to step out of my comfort zone AGAIN and cut them out with scissors, which is really hard for me because I cant cut and hold my magnifier at the same time!


I used Spectrum Noir markers to do my colouring and I used distress ink for the background with a Tim Holtz stencil and some distress paint splatters.


 All things considered, I am really happy with how they turned out!
Thanks for stopping by!


Sunday, 22 May 2016

An Awesome Foiling Technique! Foiled borders using your Spellbinders dies


Hello my friends!  I was inspired to try this technique by a video I saw  by Becca Feakin. (I will share the link at the bottom of this post)  She used her Spellbinders Labels dies and her laser printer to get  awesome foiled borders!  I have been wanting to try this for a while and now I finally have and I love the look.  I am going to use my tag from my last post to help illustrate how I did this foiling technique (and some other ones!)
First I dug out some of my Spellbinders Labels dies


Now, I knew I would be isong these to creat tags, in this instance, so everything I did was with that in mind.  You may want to make cards, as Becca did. if that's the case, keep that in mind as you position your dies. I will probably use this technique to make some cards as well.  I chose the  dies that I wanted to use and positioned them on some blank white card.  I adhered them in place using a tiny removeable adhesive dot.  I postioned them so that I could cut them out into tags.  I should mention that if you are making cards, you could take a Card Creator or rectangle die that would fit the perimeter of your card panel and position that as well, to give your card panel a nice gold border too.


I positioned 2 smaller dies that I would use for sentiments alongside a tag on this sheet


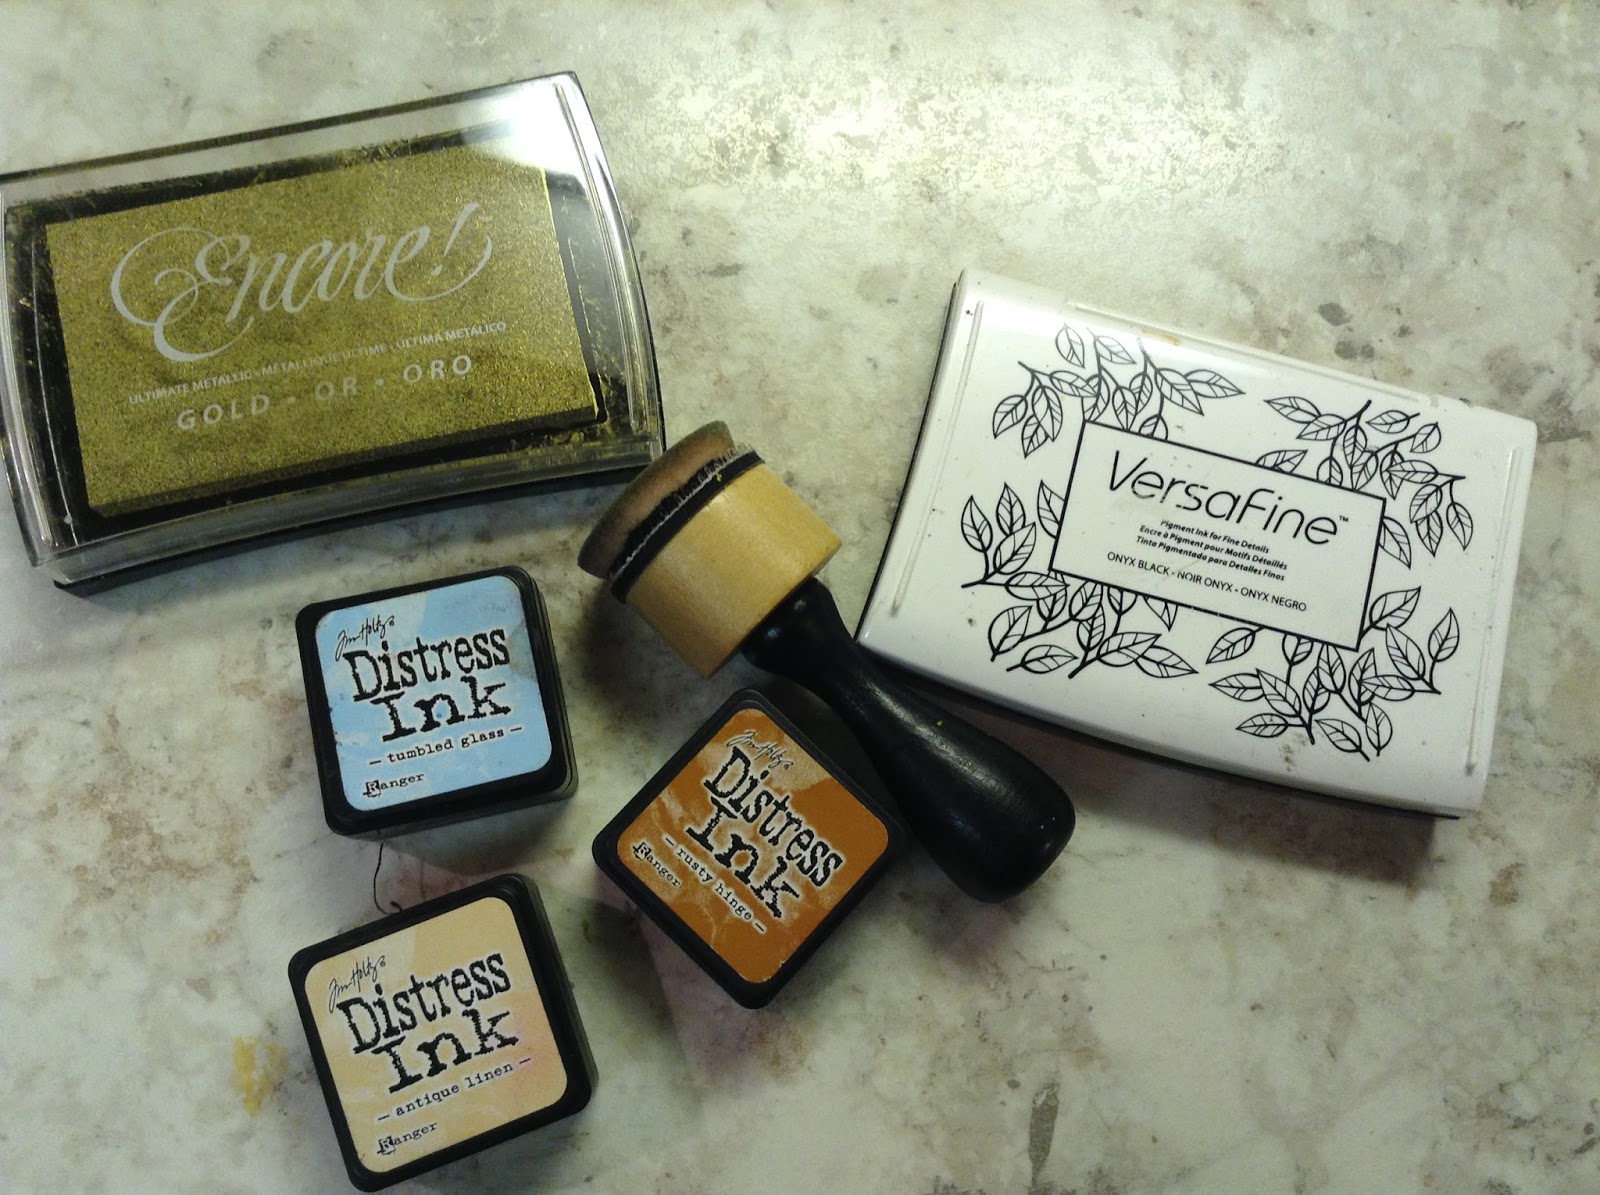
I scanned and made a copy of these.  I think Becca just put her dies directly on the scanner, but I wanted to have copies I could use again.  Not only that, but I found that the copies weren't really dark in some areas, maybe because the dies are shiny and reflective.  So I wanted to darken them as well with a marker.


Then I got some light cardstock, some white and some patterned and all trimmed to 8.5 x 11"  to run through my laser printer.  NOTE:  You must use a laser printer, an inkjet printer will not work.  You could also use photocopies, but your copy must be toner based!
I copied my images onto the card and cut them down into tags


Now for the foiling!  I use a laminator and I find it works just fine, but if you have a Minc, you would of coarse use that.  I use a plain copy paper, folded in half, as a carrier.  I chose the foil that I wanted to use, placed it over the copied image (pretty side up!) placed it in the carrier sheet and ran it through the laminator.  I usually run it through twice just to be sure.


Now I take the coordinating die, place it over the foiled image, cutting side down.  I use some washi tape to hold it in place.  If you have a look at your Spellbinder labels die, you will notice that the cutting blade is not at the very edge of the die, but in the middle. 
Because of that, you end up with 2 pieces with foiled edges that you can use, the inner and outer die cut shapes.  If you use a different kind of die with the cutting blade at the very outside of the die, you will only have a foiled edge on the inside die cut shape.


Now, how did I do the gold foil outside border?  And the foiling on the flower embellishments?   Stay tuned for another post on some different  foiling techniques. I've been doing some experimenting and as soon as I get everything together to post, I will be happy to share.  If you like foiling, you will love it! 

I hope you have enjoyed this post and will give this foiling technique a try.    Give Becca's video a watch, it is very helpful and she is really sweet and she makes it easy to follow.
If you liked my post and found this technique fun and informative, please share it!  And let me know if you would like to see more technique based posts.
Thanks for looking, have an awesome and artful day!


           Scrappin' Great Deals (SGD)  http://www.scrappingreatdeals.com/home.php


Note:  I use ThermOweb Deco Foil and Minc reactive foil