Showing posts with label embossing paste. Show all posts

Monday, 8 August 2016

Tag# 8-3 "Joy" #onelittletag


Hello my friends!  Today I am posting another tag cut from one of my "spray and stencil" pages.  


I used embossing paste through stencils for my image and sentiment

 Then I foiled it, running it through my laminator.


I then mounted it to black card to finish it off.

Once again, I had a nice image in the foil waste.  I coated some card with Mod Podge and trimmed it down to tag size.


I placed the foil "waste"  with the reverse image onto the coated card and ran it through my laminator


i mounted my tag first to the same pink card as the background I used, and then to black card to finish it off

Thanks again for joining me,  I hope you enjoyed my latest tag.
Have an awesome and artful day!

Sunday, 7 August 2016

Tag # 8-2 "Not Everyone Who iWanderst" #onelittletag (Using my newly acquired foiling technique)


Hello my friends!
Today's tag was made using one of the backgrounds created during my play with sprays and stencils.  I used a stencil and embossing paste to create the i,age and then foiled it.  I added some Tim Holtz words,  outlined some of the image with  a fine marker edged the tag with gold ink and mounted to black card.


BONUS TAG!

I coated a sheet of cardstock with Mod Podge and trimmed it down to tag size.  I used the left over foil, which I had also used to foil another project and foiled it onto the coated card.  I pieced some scrap foil onto some areas not covered by the original left over foil.  I think it turned out pretty good!


Thanks so much for stopping by my blog today and letting me share my tag with you
If you are new to my blog and are interested in the foiling techniques, please visit my previous posts 

Have an awesome and artful day!


Friday, 5 August 2016

More Foiling Awesomeness!


Hello my friends!  Are you a fan of foiling?  Do you love that shiny goodness?  If you do, you will be interested in this post.
I was watching videos on You Tube the other night and I ran across one that mentioned foiling.  I am always looking for new foiling techniques, so I was anxious to watch it  And I am glad that I did.  Just for the record, in case you ever visit my post and read this, Kate Palmer, it is your fault that I went to bed so late last night!  But all for a good reason!  Kate was doing some experimenting with some Heidi Swapp mediums.  I didn't realize that now there is a foil reactive paint and a reactive spray.  She was testing how these mediums worked with foiling over some sprayed backgrounds.  Here is a link to Kate's video She referred to watching some videos by Heidi Swapp and discovering that the Heidi Swapp metallic embossing paste and her metallic screen ink were also reactive with foil.  I don't know why it never occurred to me to subscribe to Heidi Swapp's channel to get info on foiling, but I have corrected that now.  You don't have to own a Minc to get some useful information, it all works with a laminator  as well, which is what I have.  I didn't have the spray or reactive paint, but I did have the embossing paste and I also had the screen ink, purely by accident.  I thought I was buying embossing paste and later realized that the great deal I had gotten was for screen ink NOT embossing paste, lol.  I had resolved to use it in a similar fashion as the paste, but this was great news if I could use it for foiling. The gold ink and paste were specified, which I didn't have, but I thought I'd give what I had, a try.. Who needs sleep anyways?  My mind got going and I thought, I wonder if any  paste would work, I do have other gold embossing pastes, so I thought I'd try those as well.  Then I thought I'd try some gloss medium, too.


I had some Gelli prints that I had cut down to try and make some ATCs, so I thought I would use them to test the various inks and pastes.  I ran the various mediums through a Tim Holtz burlap stencil


I got out my laminator and my foiling scraps once they were all absolutely dry.  I just use a folded piece of copy paper as a carrier.  I started feeding them through the laminator.


I was so thrilled to discover that everything I tested, worked!  The gel and the embossing paste seemed to work a little better than the screen ink, but I will still be using the ink for foiling, too.  This just opened a new foiling world for me! 

I used Heidi Swapp embossing paste through a stencil on my tag today, and it worked beautifully


 I have been doing some experimenting with toner to try and make something like a toner paint  and ink, with some success,  but now this may take me in a different direction.   I am wondering if I actually need toner. at all .   So I have some more ideas and experimenting to do!.  In the meantime though, I thought I would try  using some other pastes and mediums  So stay tuned, and tomorrow I will share the results of the other products I am trying to see if they are also reactive with foil. .  I am an artist that loves to paint wit a lot of texture, so I have several different pastes and mediums to try.   Hopefully, there may be something that you already have on hand that will work for you

Thanks so much for letting me share some foiling fun with you.  If you think there may be other foiling fans that will find this useful, please share! 
Thanks again and have an awesome and artful day!

If you enjoy foiling, be sure to check out some of my other foiling posts!

Tag # 8-1 "Transform" #onelittletag (with a little foiling!)


Hello my friends!  Well, tonight I made a tag for the One Little Tag Craft Challenge. The prompt is to use sprays and stencils.  I wasn't going to worry about the prompts for the time being, but this was one I liked!  So this tag was created using a background made during my play with sprays and stencils.  I also used a new foiling technique (which I will be posting!) and punched a butterfly out of gold foil card.  As usual, I mounted my tag to black card.


Thanks so much for stopping by and having a look at my tag.  If you love foiling, as I love foiling, pop back for my next post for some more foiling fun!

Monday, 1 August 2016

Tag # 7-27 "Bonne fête" #onelittletag


Hello again, my friends!
Continuing with my personal challenge today, of using backgrounds and die cuts from my stash, here is another tag.

This background was one that I created within the last few weeks.  I painted the background with a baby wipe, collaged some bits of paper napkins and added gold embossing paste through a stencil.  The butterflies were ones that I created quite a while ago, probably over a year.  They were punched out of vellum, stamped and coloured on the back.


I stamped my sentiment on some scrap paper and punched it out


I assembled my tag, edged the tag in gold ink and mounted it to black card.


Thanks so much for looking, I hope you enjoyed this tag.  Stay tuned for another!


Update!  I have had a few people ask me about gold embossing paste, so I thought I would share a photo of the product.  It is a Viva Decor product called Modelling Cream.  It does have a creamier texture than some pastes.  I purchased it from Amazon.ca.  A special note, I have heard that t cold temperatures can damage this product, so it may be wise to consider that if you are ordering online.  I did make sure to order mine before winter here in Canada last year.  It's a good thing I ordered it when I did because it did take some time to get here

Thursday, 28 July 2016

Trust the Magic - A Mixed Media Girl


Hello my friends!  Today I am sharing another whimsical  mixed media girl.   My sister wanted me to do a fairy girl, so she is a fairy. (I love fairies, too)  I think I am going to do a series and make some cards with them..  This seems to be what I am enjoying for the moment!
When I started this art project, I had no idea what I was going to be doing.  In fact, I was doing various backgrounds to choose one for my first attempt at  Mike Deacons "Mission Inspiration|" (which I still haven't finished, but will be posting soon!)  So I did things in a specific order on all of them to start with, since I wasn't sure which one I was going to use.


We were supposed to add colour with a baby wipe, add some tissue paper or napkin fragments and then cover with a thin coat of Gesso..  this is where I veered off coarse.  The next step was to do some embossing paste through a stencil and then add two opposite colors.  I used my sprays and was starting to add to use opposite colours, but got carried away with the sprays!  I liked the direction this was going but knew that it wouldn't be for the challenge.  I actually ended up with several backgrounds that I really liked (and that you will eventually see) as well as my page for the mission. So it was a productive day at art last Wednesday.


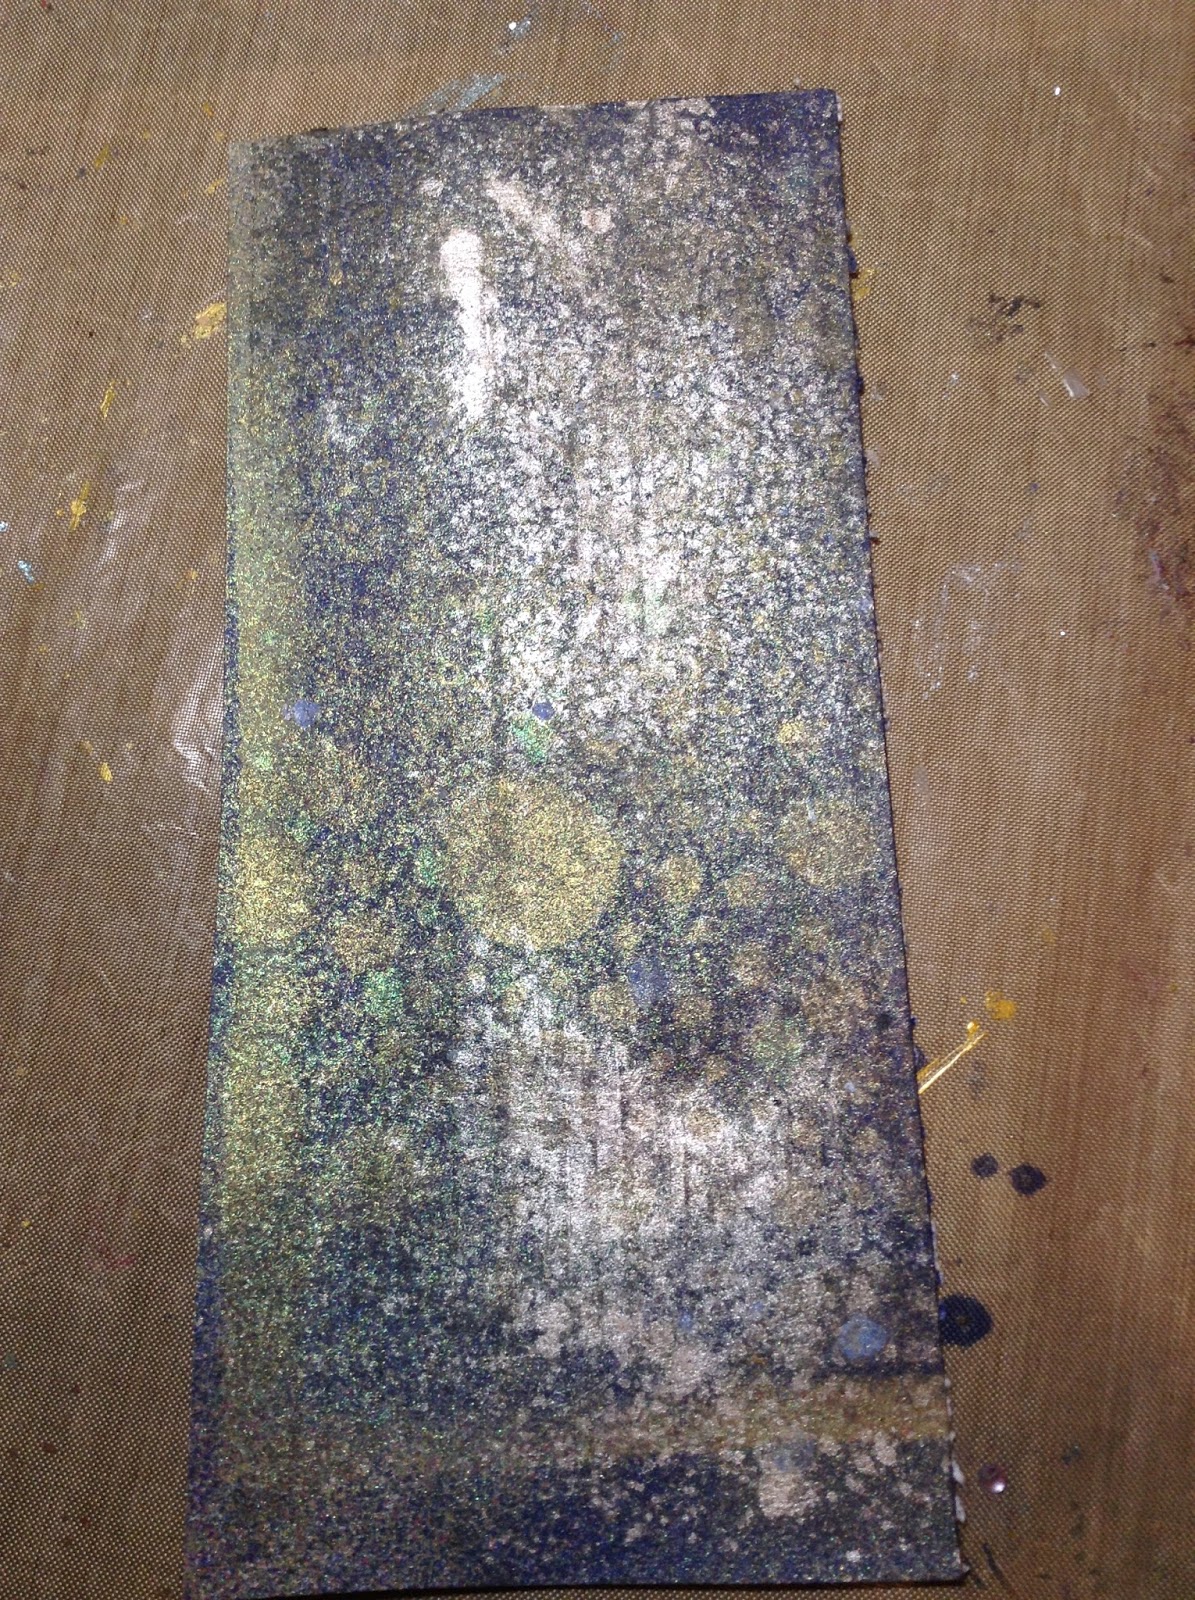
Tonight, this is the background that I chose to use and added some embossing paste through some Tim Holtz stencils (he has such cool stencils!)  I actually did some embossing on all of the backgrounds, since I had everything out, but I did this one with intent!


Then I got one of the copies of a face I had sketched on watercolour paper.  I decided I wanted to start off with paint on this one. First I added in the outline of the face and neck.  I used acrylic paint (craft).  This is the first one I have done with acrylic paint.


I added in some details with a black  marker.


Then I copied it, slightly reduced on white card and added in some more details.  I knew this was too big for my project, but with my vision issues, it's a little easier to work larger.


I copied her again, much small, and cut her out.  I cut out some hair and her dress from some scraps of patterned paper in my stash.


I needed to add some wings, so I scrbbly sketched some on some vellum with a gold Sharpie.  Then I thought I would use the rubber cement foiling technique.  So I used the brush provide in the glue jar to roughly "paint" around the wings, let it dry and then put my deco foil on top and gave it a rub.


I edged her hair with my gold ink and her dress with some distress ink.  Then I assembled her.


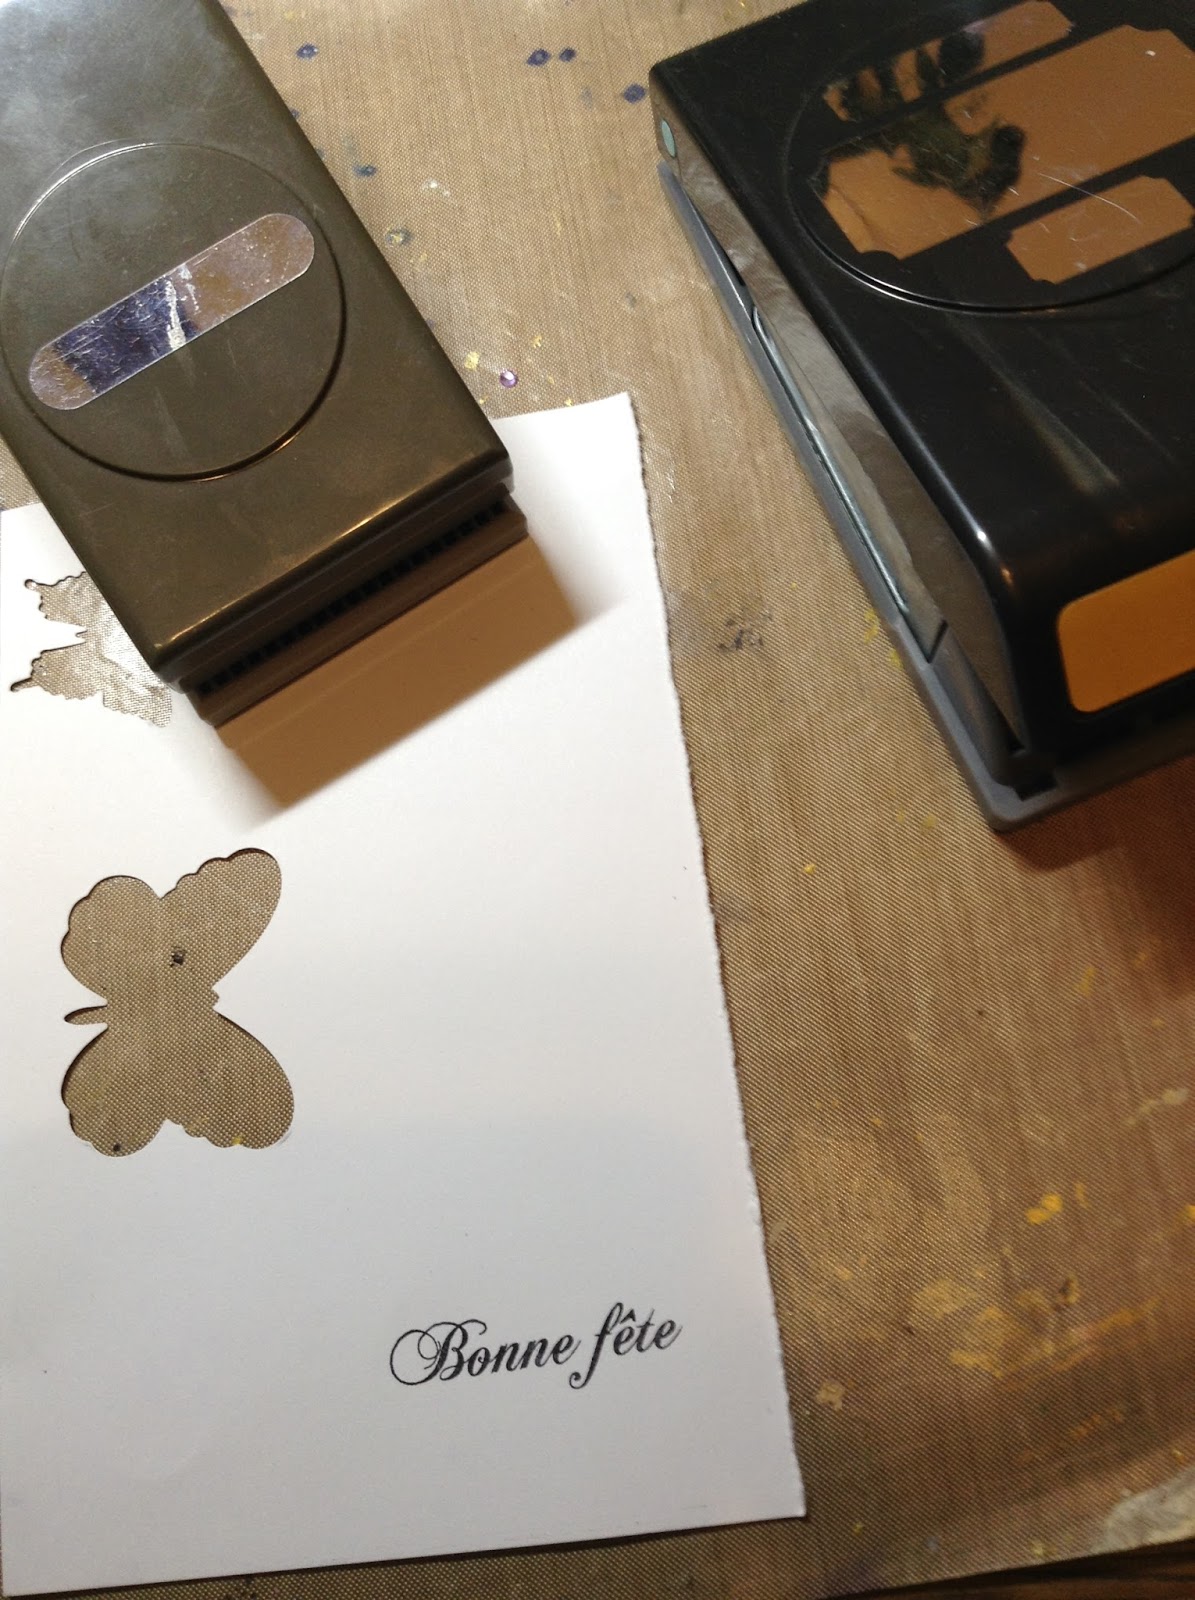
I added her to my page, outlined her with a PITT pen, added my sentiment (a Prima stamp)  I punched out some butterflies from some gold foil paper. 


 In retrospect, I may not have added them, or so many,  But too late know, so I outlined them to give them more definition, since they weren't going anywhere!

I hope you enjoyed todays post.  Thanks so much for stopping by and letting my share my efforts with you.  Have an awesome and artful day!